What’s the Best Way to Install a Sink Under the Counter?
Hey there! Thinking about putting in a sink under your counter? Great choice! This look is sleek and modern. Lots of homeowners love it. Follow these steps for a smooth undermount sink installation. By the end, you’ll have a sink that fits perfectly.
Why Go for an Undermount Sink?
First, let’s chat about why you might want an undermount sink. These sinks go below the countertop. Cleaning is a breeze because there’s no edge to catch crumbs and grime. Plus, it gives your kitchen a smooth, clean look.
Gather Your Materials and Tools
Before you start, grab everything you need. Here’s the list:
- Undermount sink
- Silicone sealant
- Clamps or sink clips
- Rubbing alcohol
- Clean cloth
- Drill with bits
- Measuring tape
- Masking tape
- Jigsaw (if you need a new cutout)
- Plumber’s putty
Step-by-Step Installation Guide

Step 1: Measure and Cut the Countertop
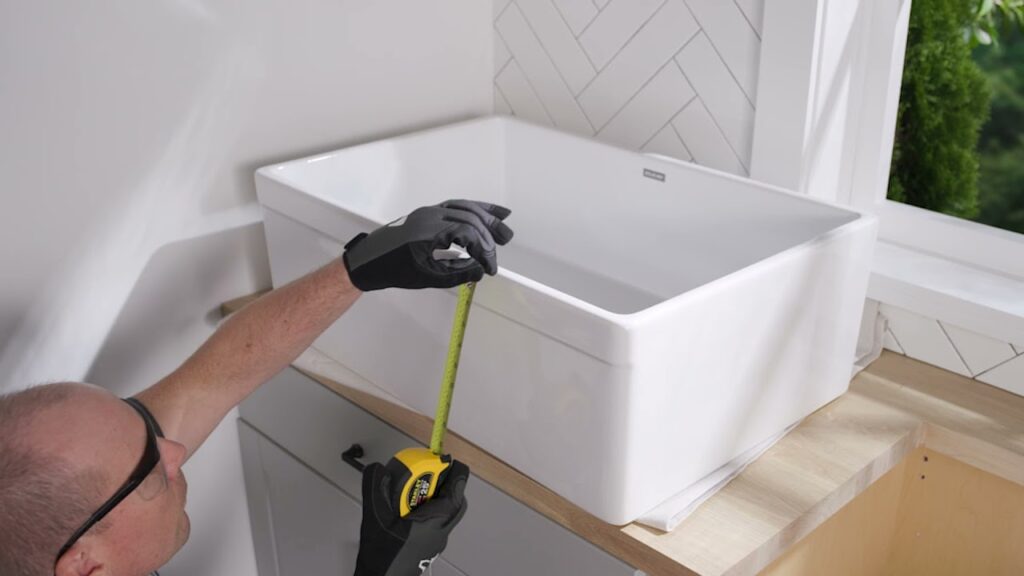
Start by measuring the sink and marking the cutout on your countertop. If you’re swapping out an old sink, make sure the new one fits. For a fresh installation, use the sink template to draw the outline.
- Put the template on the countertop.
- Tape it down with masking tape.
- Trace around the template with a pencil.
Once you have the outline, cut along the line with a jigsaw. Be careful and follow the marks closely. If this seems tricky, you might want to hire a pro.
Step 2: Prep the Sink and Countertop
Next, clean the underside of the countertop and the sink rim with rubbing alcohol. This helps the silicone stick properly. Let it dry fully.
- Run a continuous bead of silicone sealant around the edge of the sink cutout.
- Position the sink under the cutout, making sure it’s centered.
Step 3: Secure the Sink
Use clamps or sink clips to hold the sink in place. Most undermount sinks come with their own hardware. Follow the instructions for the best results.
- Tighten the clamps or clips until the sink is snug.
- Wipe away any extra silicone with a clean cloth.
Step 4: Install the Faucet and Plumbing
Now, install the faucet and plumbing.
- Put the plumber’s putty around the base of the faucet.
- Insert the faucet into the holes and secure it from underneath.
- Connect the water supply lines and tighten them with a wrench.
Finally, connect the drain pipes. Make sure all the connections are tight to prevent leaks.
Tips for a Perfect Installation
- Check for Leveling: Before the silicone sets, make sure the sink is level. Adjust the clamps if needed.
- Let the Silicone Cure: Allow the silicone to cure for at least 24 hours before using the sink.
- Test for Leaks: After the curing time, run water to check for leaks around the sink and faucet.
Common Mistakes to Avoid
- Not Measuring Properly: Double-check your measurements before cutting the countertop.
- Skipping the Sealant: The silicone sealant is crucial for preventing leaks and securing the sink.
- Ignoring Instructions: Always follow the specific guidelines provided with your sink.
Key Takeaways
- Measure twice, cut once to ensure a perfect fit.
- Use plenty of silicone sealant to prevent leaks.
- Allow the sealant to cure fully before using the sink.
Installing an undermount sink might seem tricky, but with patience and the right tools, it’s doable. Your kitchen will look clean and modern with this seamless design. Ready to give it a go? Check out this guide on undermount sink installation.
Good luck with your installation! Follow these steps, and you’ll have a functional, stylish sink that will enhance your kitchen. Happy DIY-ing!
Leave Your Comment