How Do I Fix a Computer That Won’t Recognize USB Devices?
USB devices are essential for connecting external peripherals like flash drives, keyboards, and printers to your computer. However, when your computer fails to recognize a USB device, it can disrupt your workflow and cause frustration. Whether you are using a laptop or a desktop, several factors could be causing this issue. In this guide, we will explore the most effective troubleshooting steps to fix a computer that won’t recognize USB devices.
Common Causes of USB Recognition Issues
Before diving into the solutions, it’s important to understand the possible reasons why your computer is not recognizing USB devices:
- Faulty USB Port – The physical port may be damaged or dusty, preventing proper connection.
- Driver Issues – Outdated, missing, or corrupted USB drivers can hinder device recognition.
- Power Supply Problems – Inconsistent power delivery can affect USB functionality.
- Software Conflicts – Certain software settings or third-party applications might interfere with USB recognition.
- Malware or Virus Infection – Malicious software can block USB devices from being detected.
- BIOS or Firmware Issues – Incorrect BIOS settings or outdated firmware may cause recognition failures.
Now, let’s look at how to troubleshoot and fix these issues.
Step 1: Check the USB Port
The first step is to determine whether the issue lies with the USB port itself.
- Try connecting the USB device to a different port.
- Inspect the port for dust or debris and clean it using compressed air.
- If you are using a USB hub, try connecting the device directly to the computer to rule out issues with the hub.
If the USB device works in another port, the original port may be damaged and may need repair.
Step 2: Restart Your Computer
A simple restart can fix temporary glitches preventing USB detection.
- Disconnect all USB devices.
- Shut down your computer and unplug it from power (for desktops, also remove the power cable).
- Wait for a minute before restarting.
- Plug in the USB device again and check if it is recognized.
Step 3: Update or Reinstall USB Drivers
Driver issues are a common cause of USB recognition problems. Follow these steps to update or reinstall your USB drivers:
- Press Windows + X and select Device Manager.
- Expand Universal Serial Bus controllers.
- Right-click on each USB Root Hub and select Update driver.
- Choose Search automatically for updated driver software.
- If updating does not work, right-click and select Uninstall device, then restart your computer. The drivers will reinstall automatically.
Step 4: Disable USB Selective Suspend
Windows has a power-saving feature that may disable USB ports. To disable it:
- Open Control Panel and go to Power Options.
- Click on Change plan settings next to your active power plan.
- Select Change advanced power settings.
- Expand USB settings > USB selective suspend setting.
- Disable the option for both On battery and Plugged in (for laptops).
- Click Apply and OK, then restart your computer.
Step 5: Check for Windows Updates
Updating Windows ensures that your system has the latest bug fixes and security patches.
- Press Windows + I to open Settings.
- Click Update & Security.
- Select Check for updates.
- If updates are available, install them and restart your computer.
Step 6: Run Windows Troubleshooter
Windows has a built-in troubleshooter that can help detect and fix USB-related issues.
- Press Windows + I to open Settings.
- Go to Update & Security > Troubleshoot.
- Select Hardware and Devices and click Run the troubleshooter.
- Follow the on-screen instructions to resolve the issue.
Step 7: Scan for Malware and Viruses
Malware infections can block USB devices from being recognized. Run a full system scan using Windows Defender or a reliable antivirus program.
- Open Windows Security by pressing Windows + S and typing “Windows Security”.
- Click on Virus & threat protection.
- Select Scan options > Full scan and start the scan.
- Remove any detected threats and restart your computer.
Step 8: Check Device Manager for Errors
If your USB device appears in Device Manager but has a yellow triangle or error message, follow these steps:
- Open Device Manager.
- Look for devices with error icons under Universal Serial Bus controllers.
- Right-click and select Properties to view the error message.
- Search online for solutions based on the error code displayed.
Step 9: Reset BIOS Settings
Incorrect BIOS settings can prevent USB devices from working. Resetting BIOS to default can resolve this issue.
- Restart your computer and enter BIOS Setup (usually by pressing F2, F10, DEL, or ESC during startup).
- Look for an option like Load Setup Defaults or Reset to Default.
- Save and exit BIOS, then restart your computer.
Step 10: Perform a System Restore
If the issue started recently, restoring your system to an earlier state may resolve it.
- Press Windows + R, type rstrui, and press Enter.
- Follow the prompts to restore your system to a previous working state.
- Restart your computer and check if the USB issue is resolved.
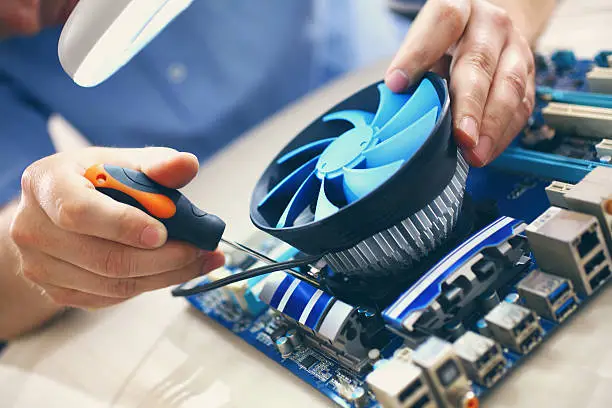
Step 11: Check for Hardware Failures
If none of the above solutions work, your USB controller or motherboard may be faulty. In such cases, professional repair services like Computer Repair in Weston, FL can diagnose and fix hardware-related problems efficiently.
Elite Repairs takes computer maintenance to the next level with expert solutions for laptop and MacBook issues in Weston. Our skilled technicians handle hardware and software challenges with precision, ensuring optimal device performance. We focus on thorough repair processes, incorporating preventive measures and advanced troubleshooting to enhance functionality and longevity.
click here to visit website for more interesting collection of articles
Leave Your Comment